Using the Backend
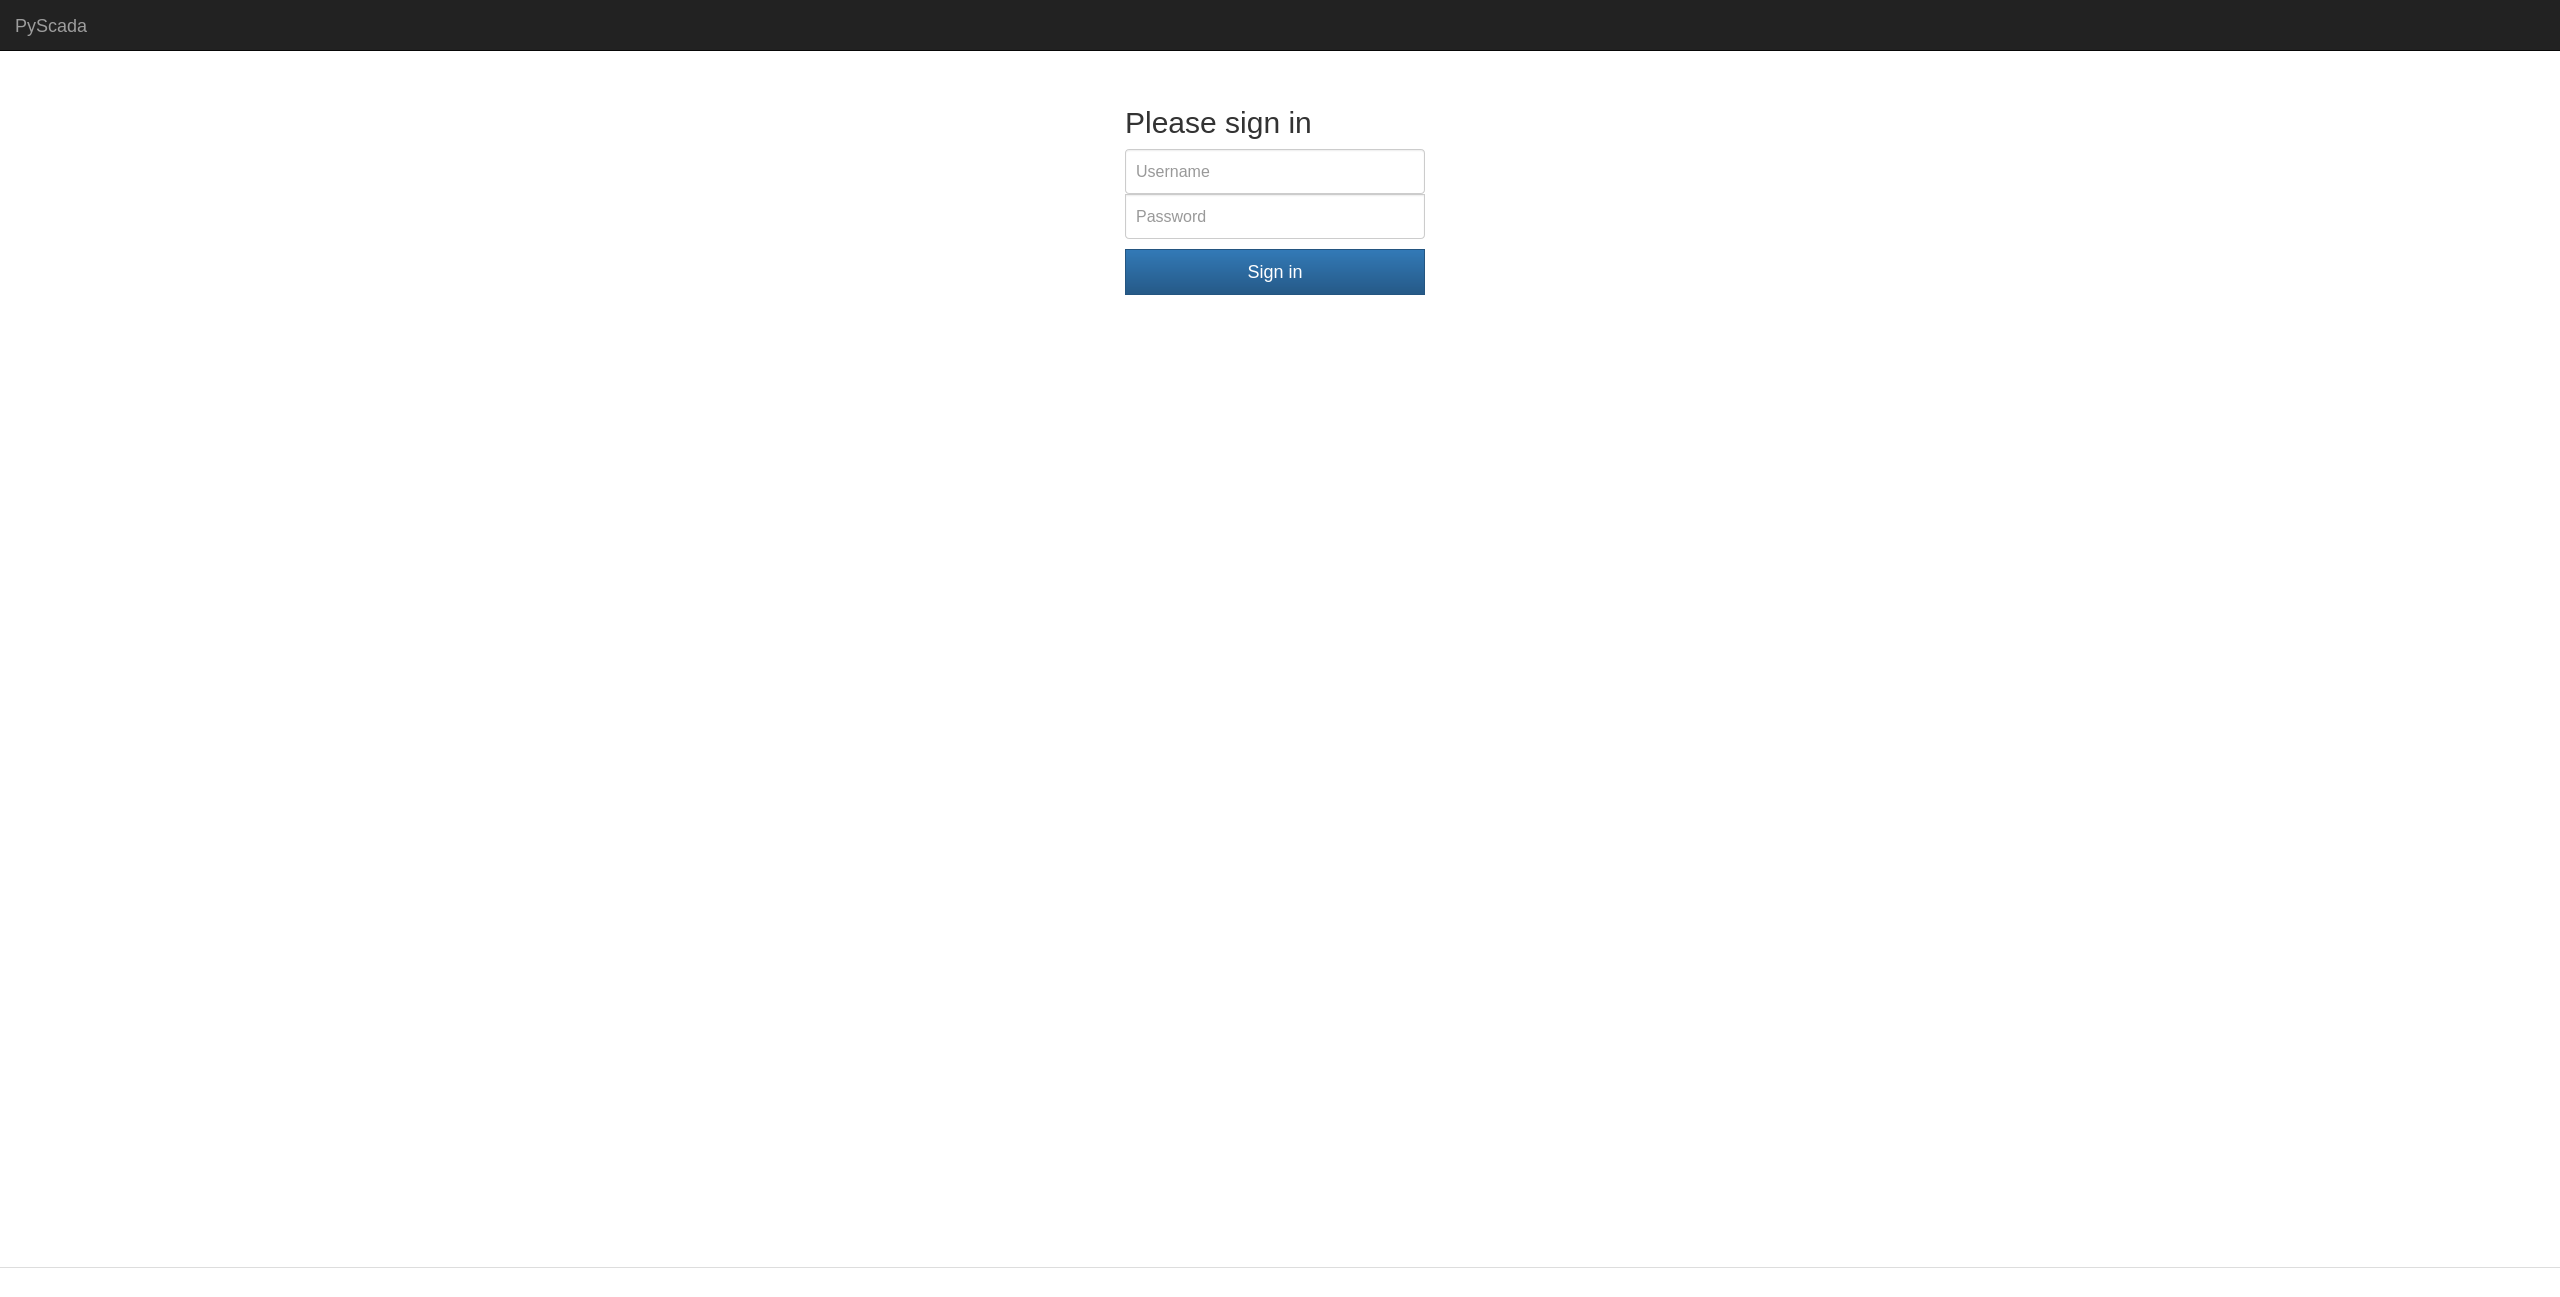
To use the backend open the HMI in your browser by opening http://127.0.0.1 (replace 127.0.0.1 withe the IP or hostname of your PyScada server) and sign in with your admin account defined during the installation process (TODO link to createsuperuser doc).
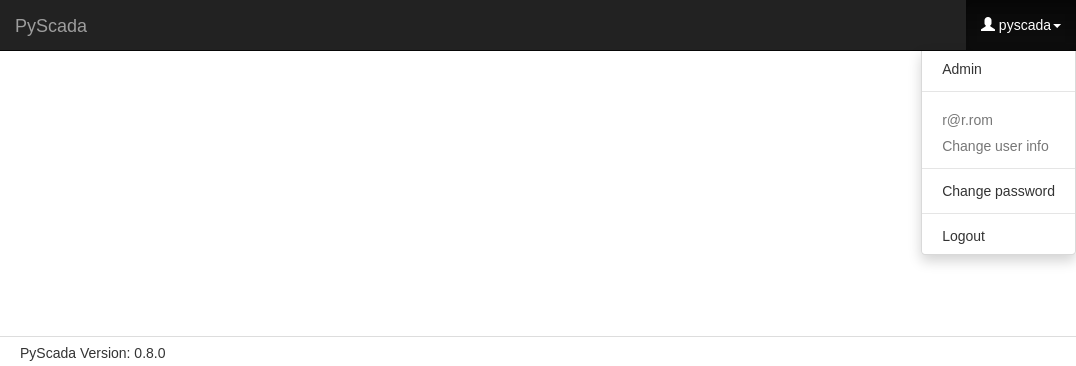
After successful login in your see the view overview, to open the admin panel click on your username in the upper right corner and on Admin.
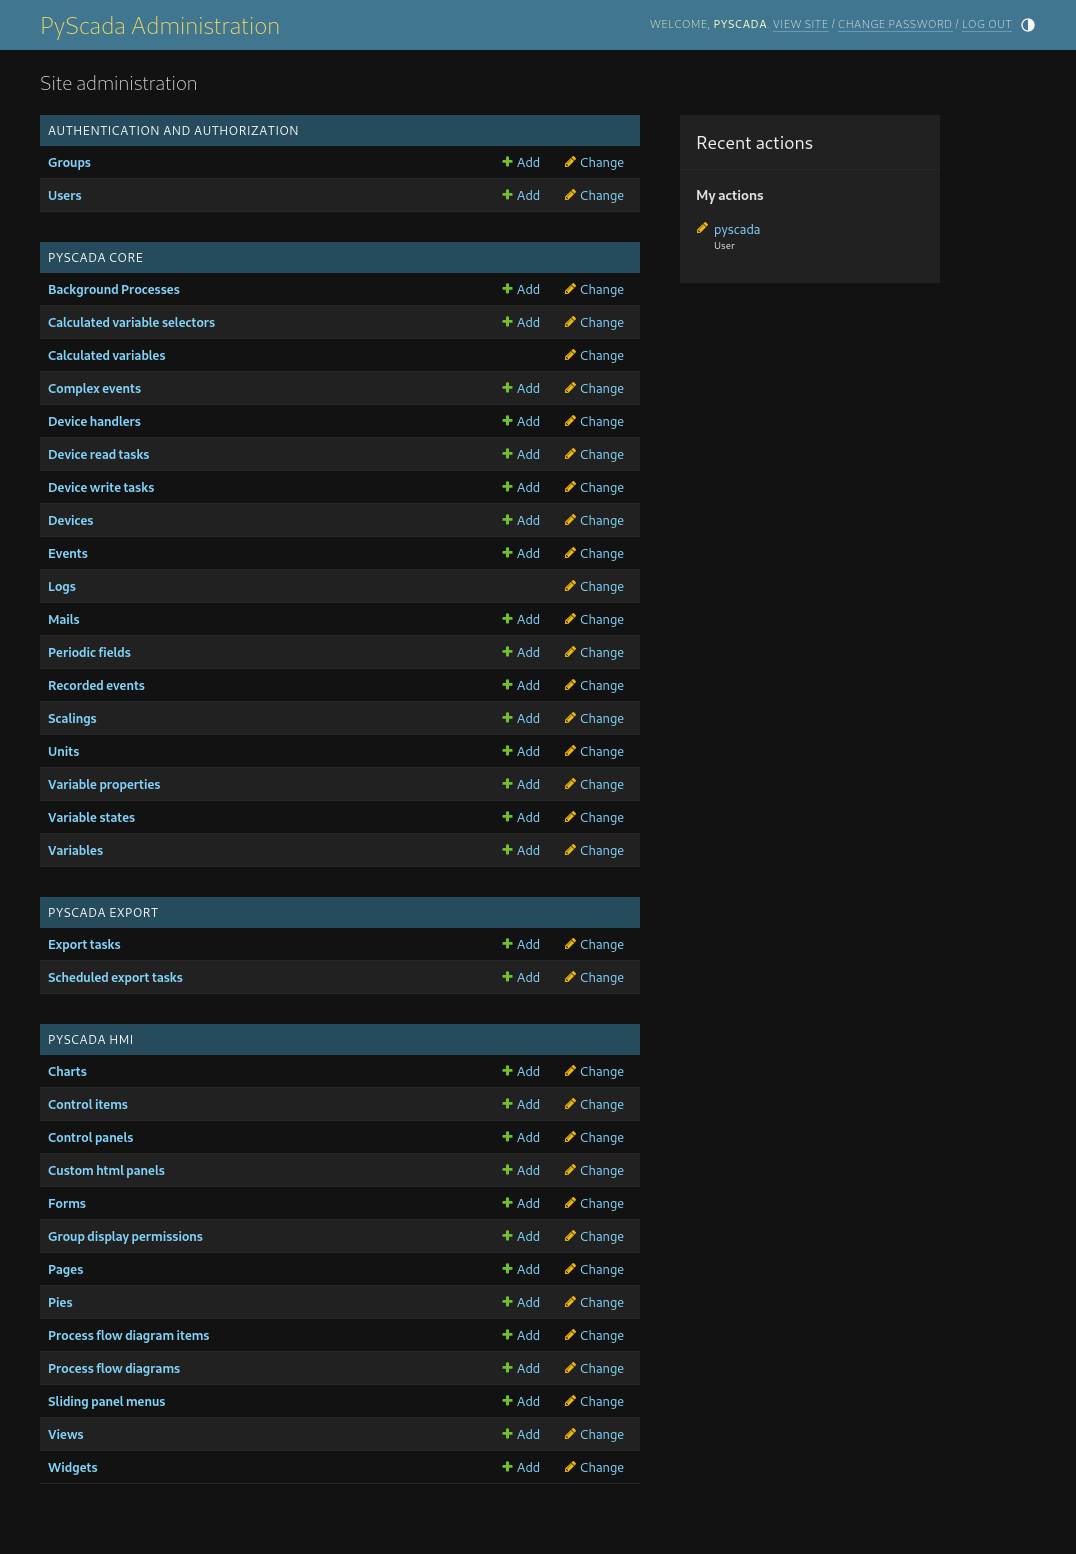
Now you are in the backend or Admin panel.
Add a new Device
To add a new device (e.g. a PLC) open the Device Table in the PyScada Core section.
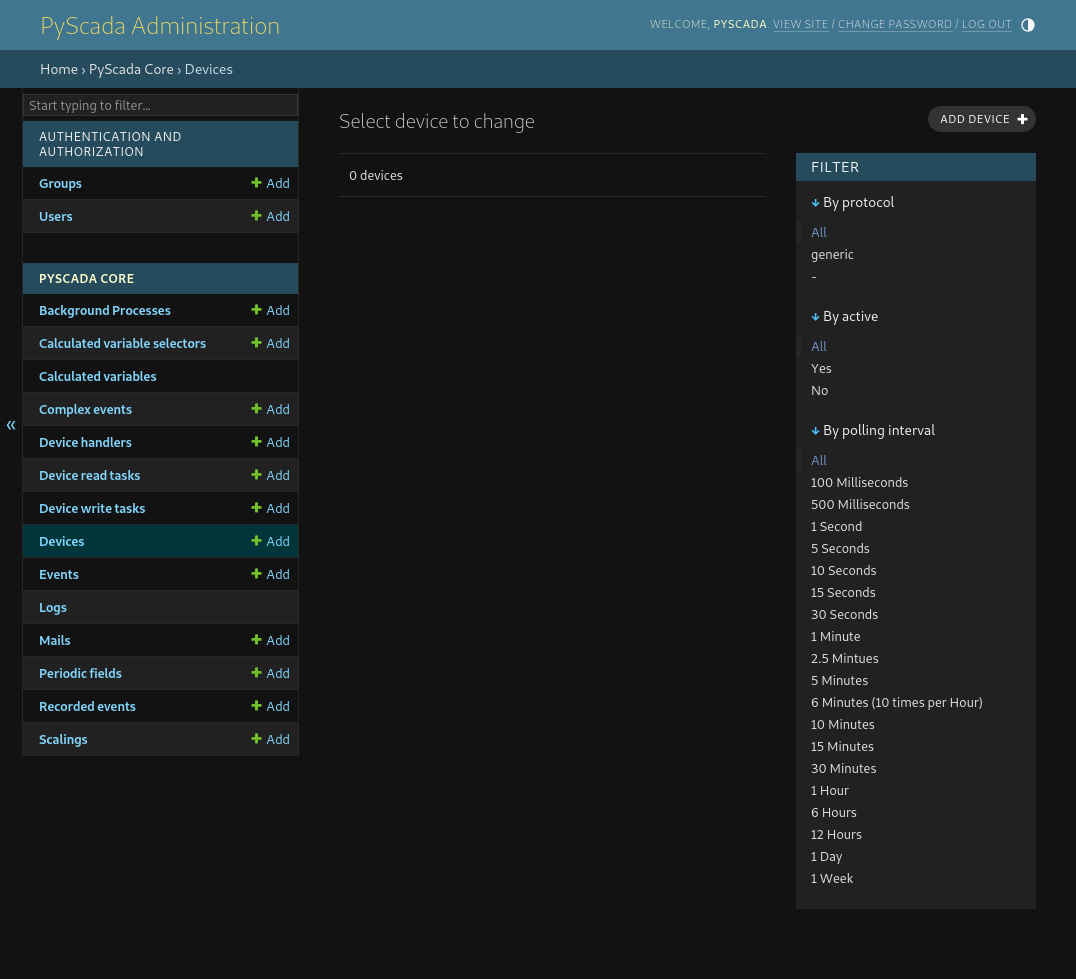
You will see a empty list. Click on add device in the upper right corner to add a new device (e.g. a modbus device).
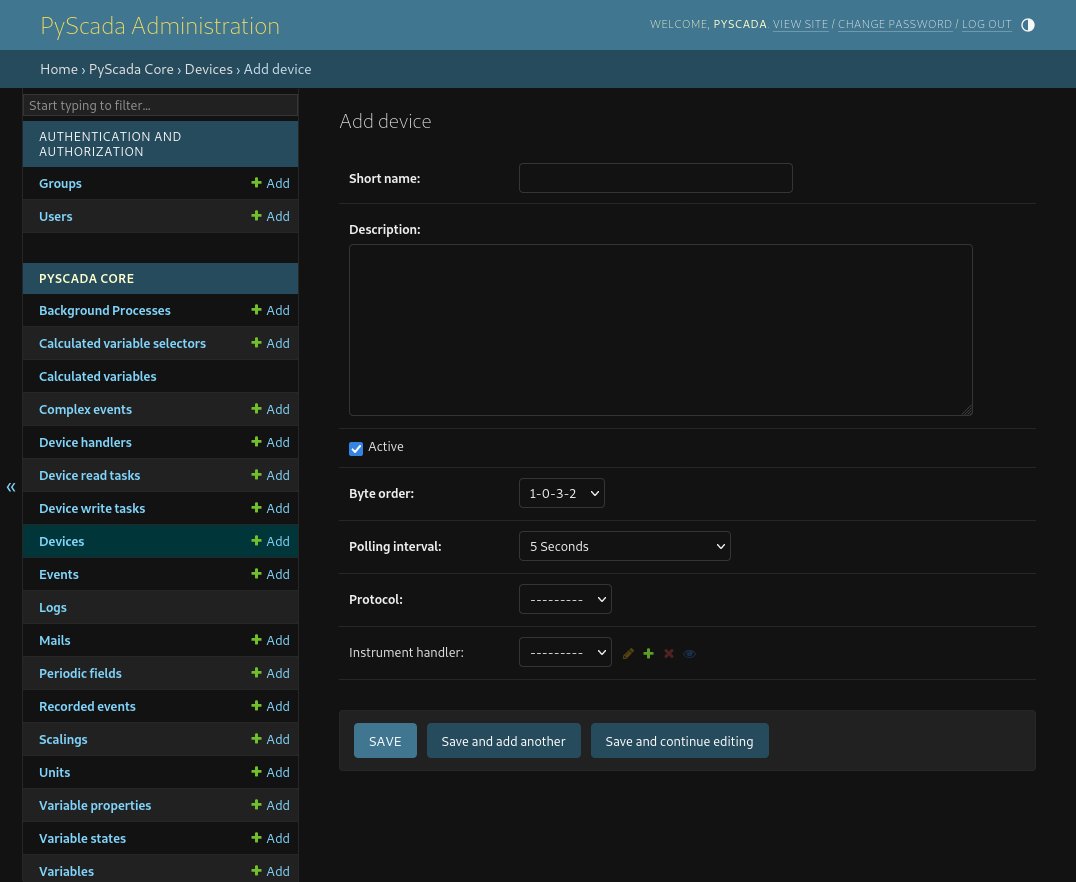
Enter a name and a description.
Choose a pooling interval (time between two variable value read).
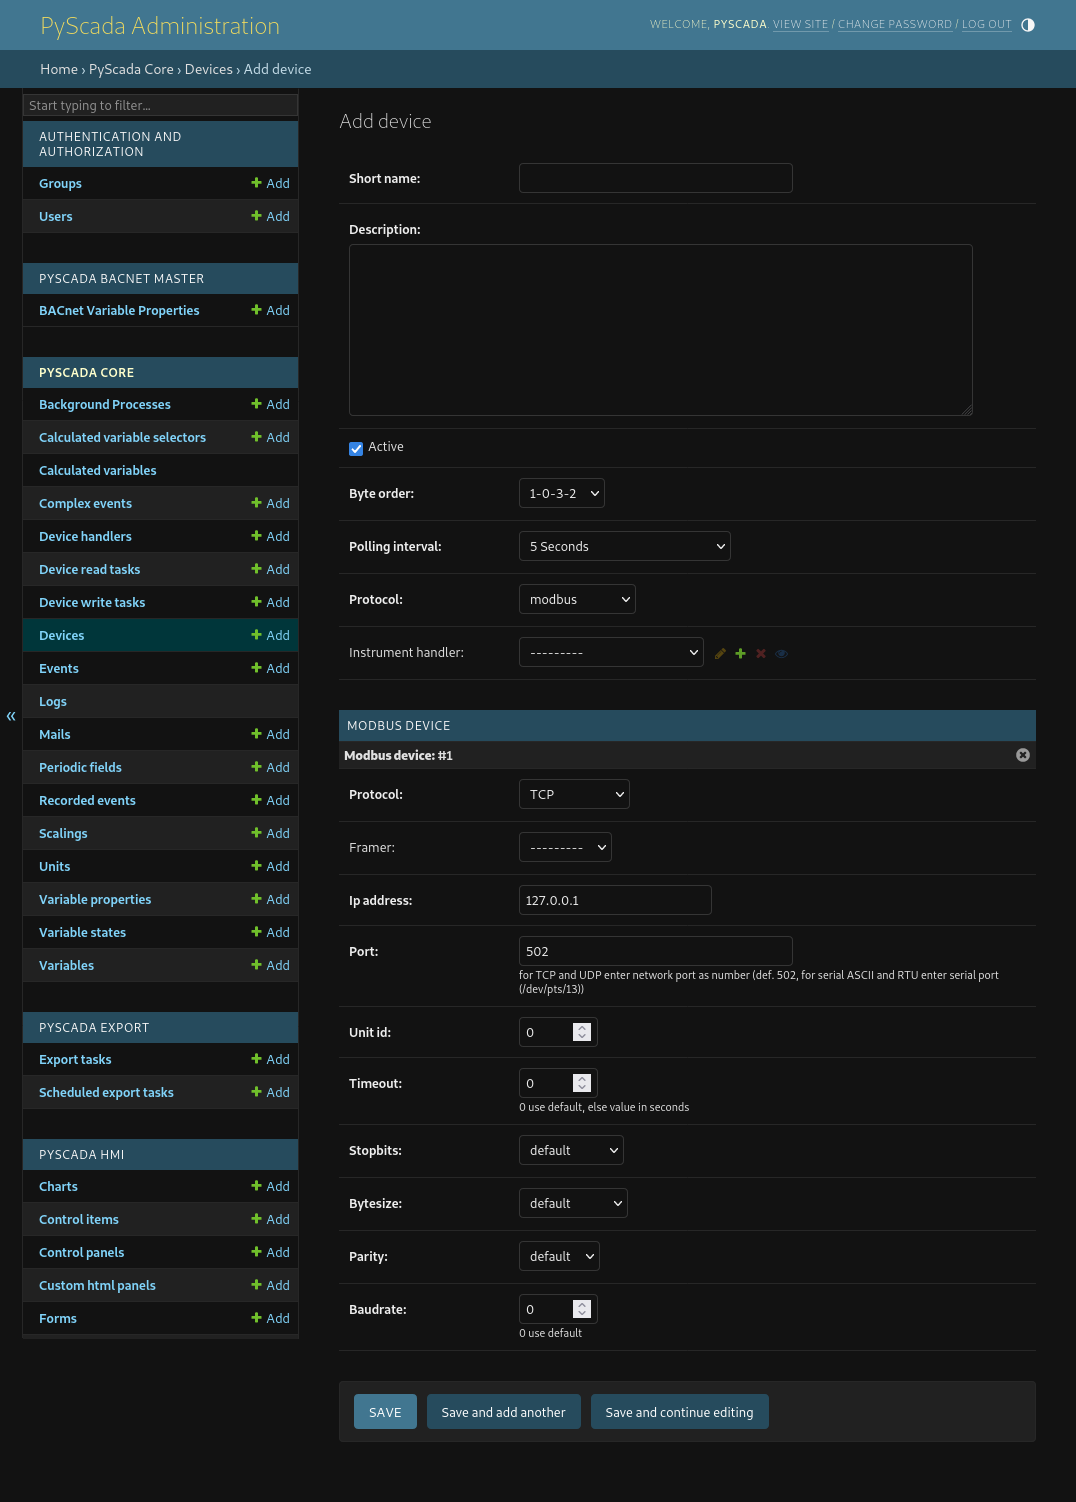
Choose a protocol.
Enter the necessary informations for that protocol.
(TODO device protocol setup)
Add a new Variable
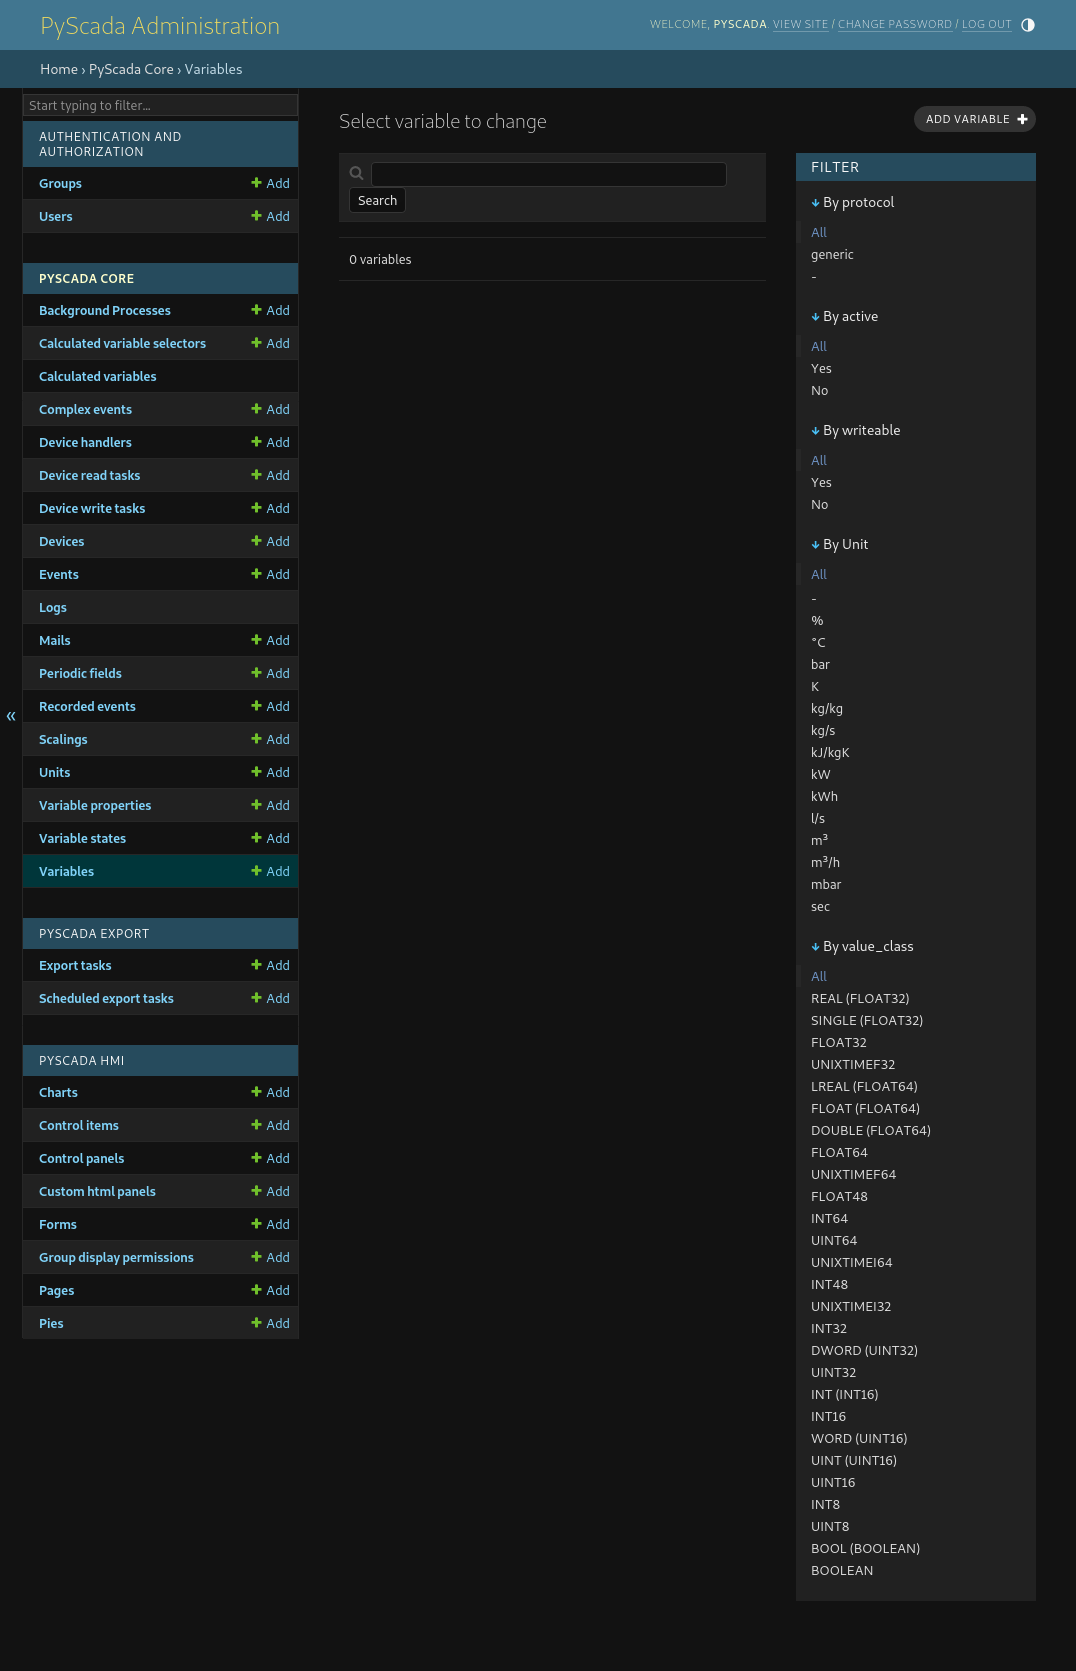
Enter to Variables table in the PyScada Core section of the admin panel. Click on add variable in the upper right corner.
A Variable has a name and a description, assign the Variable to a Device and select a Unit of measurement (TODO add description off adding a new unit), activate writable if the value should be changed from the HMI, if the value has to be scaled in order to be displayed right select the right scaling (TODO add description for adding a scaling).
The value_class is the data type in witch the value is represented on the Device (TODO add example).
The Change Of Value (COV) is the amount of change of the value to be stored in the database. It will store new values for that variable if :
or if the last value is older than 1 hour.
So if you want to save all the values, set the COV to -1.
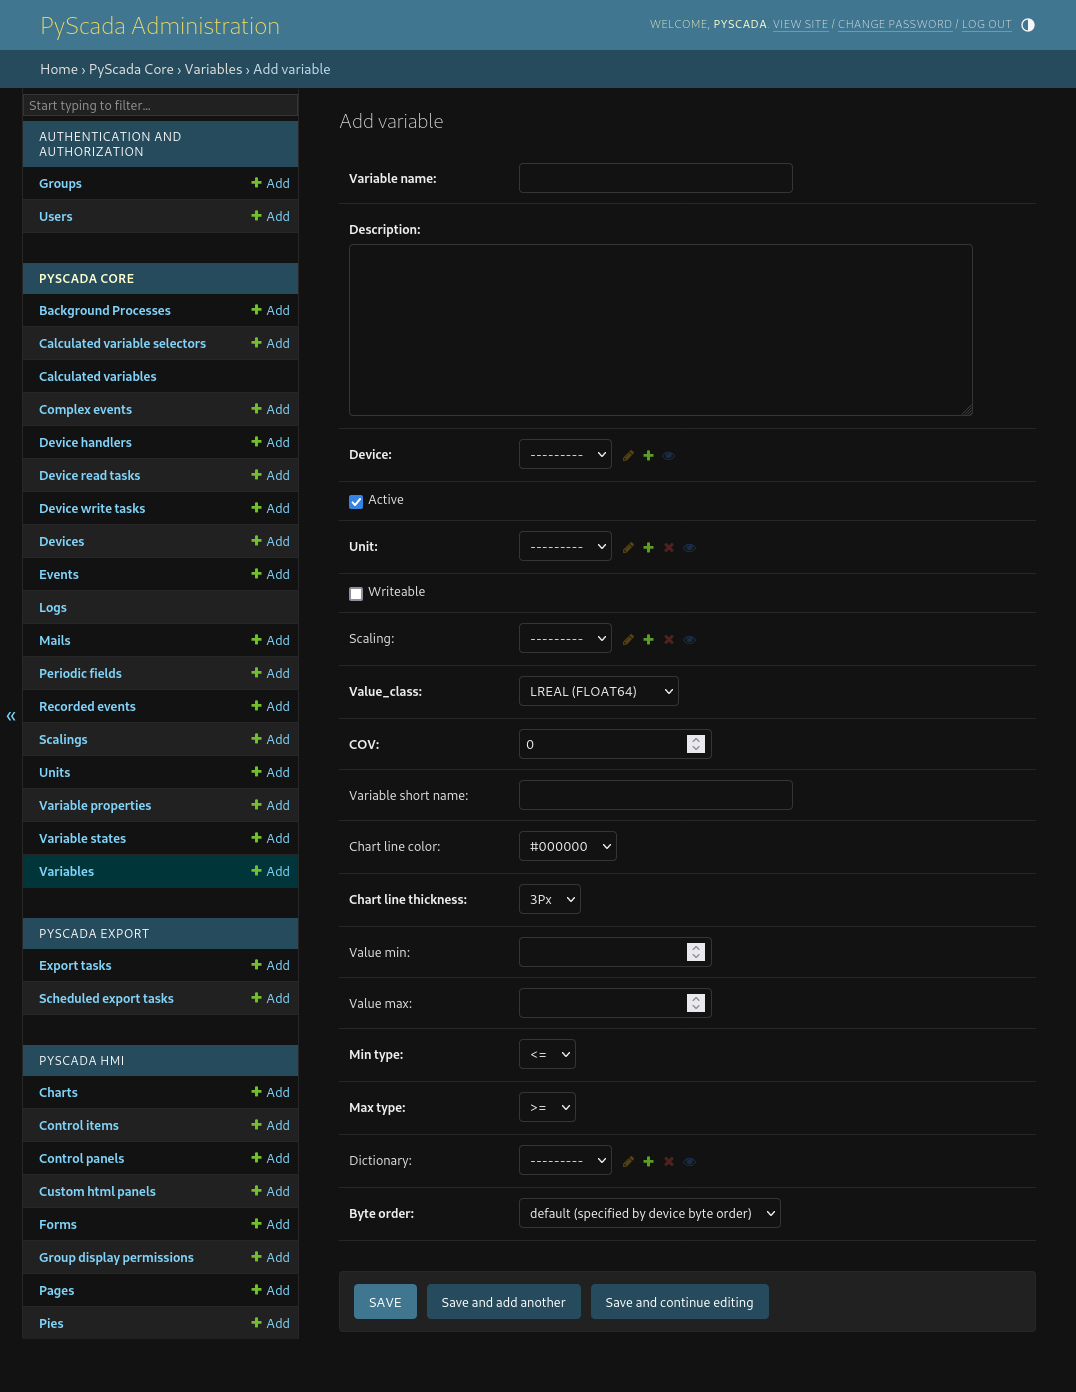
Enter the necessary informations for the variable depending of the device protocol.
Short instructions to build the user HMI (frontend)
In the backend HMI section:
Charts, add a new Chart
Page, add a Page
- Widget, add a Widget, select under Page the page you added in 2. and under Content the Chart from 1.
A widget controls the position of every element on a Page. Set the position (row, column) and the width of the widget.
View, add a View and select the page from 2.
(optional) GroupDisplayPermissions, add a new GroupDisplayPermission, (if nessesary add a new Group and add your User to that Group, select all items you created in 1. to 4.)
open http://IP/, you should see the new View, if the DAQ is running and there is Data already in the DB, you should see the last 2 Hours of data and the current Data.
The frontend structure :
+-View------------------------------------+
|                                         |
| +-Page--------------------------------+ |
| |                                     | |
| | +-Widget--------+ +-Widget--------+ | |
| | |               | |               | | |
| | | Row 1, Col 1  | | Row 1, Col 2  | | |
| | | Width 1/2     | | Width 1/2     | | |
| | | +-Chart-----+ | | +-Chart-----+ | | |
| | | |           | | | |           | | | |
| | | +-----------+ | | +---------- + | | |
| | +---------------+ +---------------+ | |
| +-------------------------------------+ |
+-----------------------------------------+
Add a new View
to be continued…
Add a new Page
to be continued…
Add a new Chart
to be continued…
Add a new Control Panel
to be continued…